What Is Memory Compression and Why Does It Matter?

Memory compression is a relatively new Windows feature designed to improve system performance by compressing and storing inactive and less frequently used data in RAM. While it’s enabled by default in later Windows versions, you can disable it. The question is, should you?
Good to know: is Window Manager causing high memory usage on your PC? Learn what to do.
How Does Memory Compression Work on Windows?
Memory compression works by identifying inactive or less frequently used data when the system is under memory pressure. Instead of writing this data to the slower hard drive, Windows compresses it in RAM, reducing the need to use the page file.
If Memory compression is absent, your PC will resort to paging, where your device will store data in the page file on your storage disk to reduce the RAM load. Accessing data in the page file is very slow in comparison to RAM.
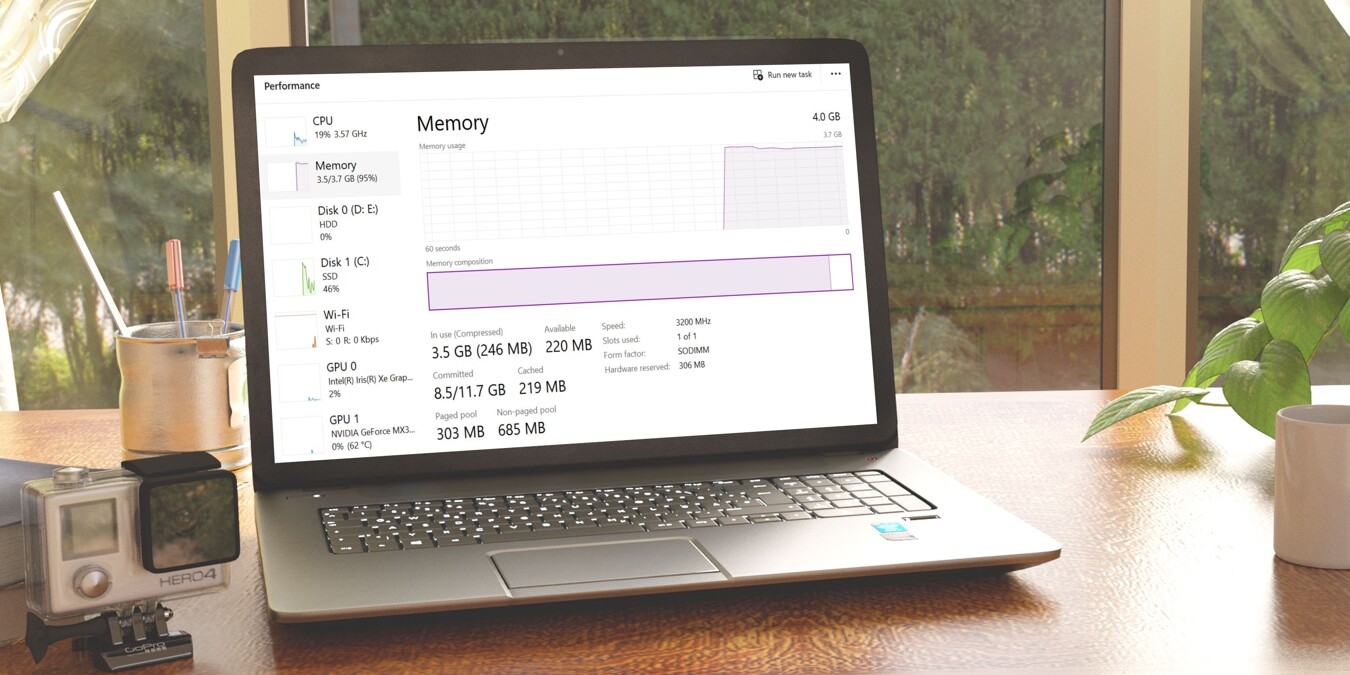
Microsoft has implemented Memory Compression since Windows 10 Version 1507. In later versions, users can check Memory Compression stats by navigating to Task Manager -> Performance -> Memory.
Once there, you can take a look at the In use section. If you see the word Compressed, then memory compression is currently enabled.

With memory compression active on your device, you’ll notice some benefits, including:
- Reduced power consumption and disk strain due to less frequent access to the computer disk
- Better efficiency and multitasking, as your PC will rely more on the physical memory
- Less need for RAM upgrades provided that you have at least 8 GB of RAM, which should be enough for day-to-day tasks
That said, the compression and decompression processes may impact the CPU, which is why not all processes are compressed. But it’s still much faster than paging.
FYI: was Task Manager disabled by your Windows administrator? Learn how to gain access to it.
Should You Disable Memory Compression?
We recommend that you leave memory compression on unless the situation calls for it to be disabled. Otherwise, turning off this feature can make your PC slower.
You may want to disable memory compression under the following scenarios:
- Your CPU is relatively old – as noted above, the compression and decompression processes need adequate CPU resources. While newer processors can efficiently handle these processes, it may cause significant strain on older CPUs.
- Your PC is experiencing performance issues – if your PC is aggressively compressing memory, even with no RAM-intensive processes running, you may want to turn memory compression off to maximize your available RAM resources.
- Your PC has ample resources – on some systems with abundant CPU and RAM resources, it doesn’t really matter whether you enable or disable memory compression. There wouldn’t be much difference.
Tip: wondering what the difference is between Command Prompt and PowerShell? We show you in this guide.
How to Disable Memory Compression on Windows
You can turn off memory compression in Windows using PowerShell. The process is reversible, so you can always switch it back on.
Right-click the Start button, and choose Terminal (admin) from the WinX menu. In the User Account Control dialog, click Yes to grant administrator rights. In Windows 10, you’ll need to search for PowerShell and launch it from there.
Before executing the command that will disable the function, you may want to check its active status. You can do so as mentioned above via Task Manager or PowerShell.
Run the command Get-MMAgent in PowerShell. Check the value for the MemoryCompression parameter. If it’s True, your computer has the option enabled. False indicates the opposite.

If the value is True, type Disable-MMAgent -mc on the command line, and press the Enter key.

PowerShell won’t display any confirmation messages after you run the command. To ensure that the changes you made take effect, exit PowerShell and restart your PC.
If you want to enable Memory Compression again, relaunch PowerShell with administrative access, and run Enable-MMAgent -mc.

Tip: does PowerShell keep popping up unprompted? Learn what you can do about it.
To ensure that your PC performs at good speeds, it’s best to keep memory compression active. If you face memory problems, make sure to read our guide on how to start using the Windows Memory Diagnostic tool. Additionally, learn how to protect your computer where Memory Integrity appears off.
Image credit: Freepik. All screenshots by Princess Angolluan.
Subscribe to our newsletter!
Our latest tutorials delivered straight to your inbox


