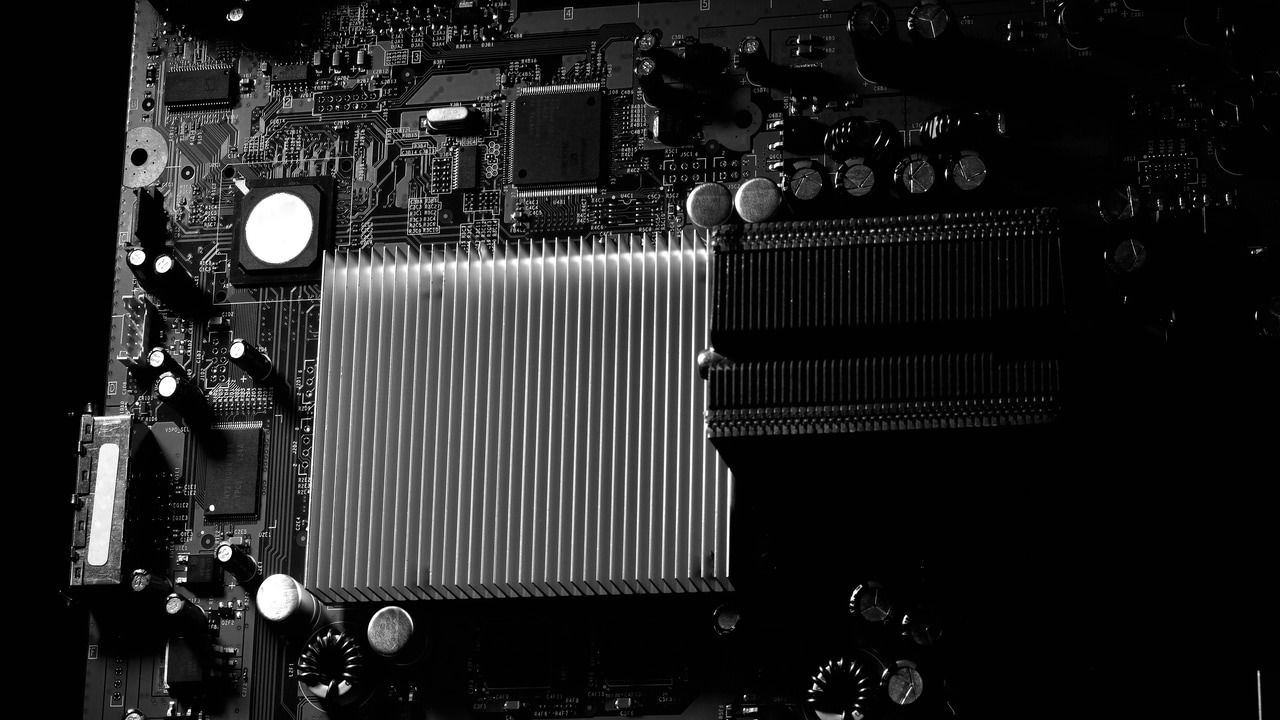
What is a Heatsink? Does My Computer Need One?

You probably know about the CPU and Motherboard in a PC, but what about heatsink? Many people aren’t sure what a heatsink is, since unlike RAM, GPUs, or power supplies, they aren’t usually bought separately. However, heatsinks play a crucial role in your PC’s performance. Let’s learn about heatsinks and how they can protect your computer.
What is a Heatsink?
While running, your computer’s hardware gets very hot, particularly the CPU and GPU. If these components get too hot, they can slow down, malfunction, or suffer permanent damage. A heatsink prevents this by removing the hot air from the component and effectively cool it down.
The heatsink is usually made of aluminum or copper that has high thermal conductivity. It has a flat base that directly attaches to the heat-generating component. On top, it has pins or fins spread over a wide area, allowing heat to dissipate efficiently.
How Heatsinks Work
Using the principles of thermal conduction and convection, heatsinks both absorb and dissipate heat. The flat cold surface of the heatsink is directly in contact with the heating component, so the heat conducts from the hotter component to the colder heatsink.
This absorbed heat moves to the fins where thermal convection dissipates the heat into the air. Most heatsinks come with fans to increase the heat dissipation rate.
Types of Heatsinks
There are different types of heatsinks in computers tailored for different cooling needs. The main difference is in the heat dissipation processes that each heatsink type uses. This divides them into three main categories: passive, active, and hybrid heatsinks. Each type has its own use depending on PC performance, energy consumption, and noise tolerance.
Passive Heatsinks
These are heatsinks that lack active fans for heat dissipation. Their fins are spread over large areas and positioned to maximize natural airflow. They rely primarily on natural convection to cool themselves down.
Without moving parts or additional power consumption, they are ideal for laptops where energy efficiency and low noise are important. Although they aren’t widespread, they are still common in low-power laptops like Ultrabooks and Chromebooks, as well as in mini PCs and home theater PCs designed mainly for web browsing and media playback.
However, passive heatsinks may become more prevalent as ARM processors are gaining popularity. ARM processors are more energy-efficient and generate less heat compared to x86 processors, making them well-suited for passive cooling solutions.
Active Heatsinks
Active heatsinks are more commonly used for CPU and GPU. They are usually coupled with a fan (or multiple fans) to improve airflow and heat dissipation rate. They are very effective at cooling the component down and are found in both work and gaming desktops/laptops.
Compared to passive heatsinks, the heatsink itself is rather small. The cooling efficiency depends on the fan power, the number of fans, and fan placement. Regular work PCs use 1-2 fans, but gaming PCs can have up to 5 or even more fans.
Of course, having active fans means it will need extra power to run, and it creates more noise too. Even with these downsides, active heatsinks are still the go-to cooling solution for most PCs due to low cost and reliable cooling.
Hybrid Heatsinks
Although rare, some PCs may also have hybrid heatsinks for varying workloads. They have both a big heatsink and fans to remove heat from the component. The fans only kick in when components reach a specific high temperature.
This ensures silent use while under low workloads with minimum heat generation. When you need to do something heavy like gaming, the fans turn on to handle the increased heat generation.
Does My Computer Need a Heatsink?
The answer is an absolute yes! Computers always need a properly working and seated heatsink to work efficiently.
The processors we have in our computers and laptops today are powerful and generate a lot of heat as a result. If you removed the heatsink from a computer and booted it, you’ll probably see it work from few seconds to a minute before the computer shuts itself off. This is because the processor has reached critical heat levels and caused a sudden computer shutdown. If you’re lucky, the processor may have a built-in safety catch to prevent itself from burning out. If you’re not, the processor is now fried and unusable!
This is why when a user discovers their processor or graphics card is getting very hot, a common troubleshooting solution is to check the fans on it. If the heatsink is not functioning optimally, the processors will begin to overheat which will cause freezes, BSoDs and sudden shutdowns and restarts. Some issues people will find with their heatsink is that it’s not “seated” properly (that is, they’re not tightly placed against the processor), that it’s clogged with dust, that its thermal paste is getting old, or the fan itself is simply giving up.
How to Install a Heatsink on Your CPU
Installing a heatsink isn’t very complicated and can be done by most people without needing professional help. Below are step-by-step instructions to install a heatsink:
Prerequisites
Correct heatsink: Most CPUs come with their own heatsink in the box, so this shouldn’t be a problem. If you are upgrading to a better heatsink or your CPU doesn’t come with one, then make sure it matches the CPU socket type; like LGA1700, AM4, or FM2+.
Thermal paste: unless your heatsink has thermal paste applied already, you must have a thermal paste tube with you.
Screwdriver: Most heatsinks have screws that need a Phillips-head screwdriver. However, some also have clamps that don’t require additional tools.
Rubbing alcohol and lint-free cloth (optional): If the CPU or heatsink already has old thermal paste applied, then you’ll need to clean it first.
Note: Before installing, make sure you turn off the PC and unplug it. It’s also better to ground yourself by touching a metal to avoid electrostatic discharge (ESD) damage to components.
1. If you are replacing or re-installing a heatsink, then it must have old thermal paste residual. Clean all of it using rubbing alcohol and a lint-free cloth. The surface needs to be spotless.
2. Apply a small amount of thermal paste in the middle of the CPU, don’t overdo it as it can decrease conduction. Some people also prefer to apply in an X-pattern as it helps with spreading evenly.

3. Align the heatsink over the CPU and try to exactly match the mounting brackets or screw holes. After putting it on the CPU, press down slightly so the thermal paste spreads evenly.
4. Now you can close the clamps or tighten the screws. For screws, tighten them in a diagonal pattern for even pressure.
5. The heatsink will probably have a fan mounted too. Look for the CPU_FAN label on the motherboard and connect the fan cable to the CPU fan header.
The heatsink is now installed, and your PC is ready to use. It’s important to note that the connection between the CPU and the heatsink is purely physical, so there are no pins or sockets to worry about. Just make sure the heatsink is seated directly and evenly on top of the CPU.
Now that you know all about heatsink, you might wonder which components in your PC require a heatsink. Other than the CPU and GPU, we found that the M.2 NVMe SSD can benefit from a heatsink too. Another important thing to take note is the exhaust fans and airflow in your PC case that complement the heatsink to remove heat from the PC.
Image credit: Vecteezy.
Subscribe to our newsletter!
Our latest tutorials delivered straight to your inbox


