If you’re a hobbyist/DIY enthusiast or thinking of starting a small laser engraving business, the recently launched LaserPecker LP4 Dual-Laser Engraver may be something to check out. It’s the company’s latest arrival in its lineup of portable laser engravers and easily stands apart from the competition by being among the few laser engravers on the market boasting dual lasers. We had the opportunity to take this device for a test drive to see what it can do.
This is a sponsored article and was made possible by LaserPecker. The actual contents and opinions are the sole views of the author, who maintains editorial independence even when a post is sponsored.
What’s in the Box?
Unlike other laser engraver products on the market, the LaserPecker LP4 Dual-Laser Engraver has to be assembled, so if you have a preference for DIY, this product will scratch that itch for you. Fortunately, you don’t need to be highly technical to put together the laser, despite the deluge of parts that emerge from the large box in which it is shipped.
The engraver comes with a booklet that explains in simple terms how to assemble the device. We had a little trouble placing the main laser unit on top of the electric stand, as it’s quite heavy, and you need to balance it against empty space, but someone with a sturdier constitution should have no issue with it.
Installing the device took no more than 15 minutes. The package even includes a tiny toolbox, so you don’t have to worry about finding screwdrivers or screws. You have everything you need in the box.
The engraver also ships with a few sample materials so that you can start with your first engraving project right away. Our unit included four pieces of thin wood, as well as a few gloss acrylic cards. Finally, the LP4 box also includes:
- Power adapter
- Pair of goggles
- USB-C to USB-C and USB-C to USB-A cables
- Rotary extension
- Slide extension
Design & Features
The LaserPecker LP4 Dual-Laser Engraver is a portable laser engraver that can be used on almost any material or surface. It’s among the few products of its kind that feature an infrared and diode laser – all neatly wrapped together in a compact package.
Thanks to the dual setup, you can now engrave virtually any material without switching between different machines. The 10w (450nm) blue diode laser is geared toward engraving on wood, acrylic, glass, leather, ceramic, paper, or stone, while the 2w (1064nm) infrared laser works best for engraving on stainless steel, aluminum alloy, gold, silver or plastic.
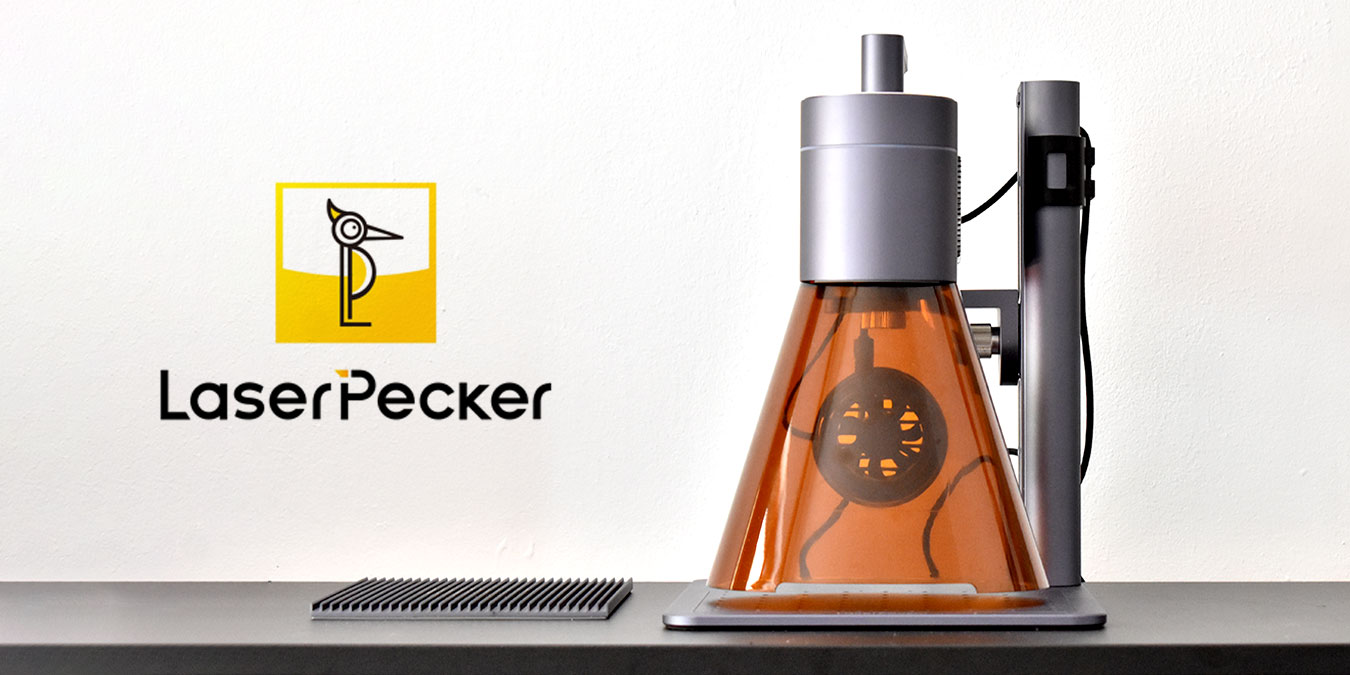
When it comes to the build, the LaserPecker LP4 Dual-Laser Engraver is as solid as it gets. Boasting an all-metal chassis and base, this engraver is a sturdy device, although it’s light enough to be carried from one place to another with relative ease (if assembled). It’s clear that LaserPecker invested heavily in the hardware aspect of this project. Everything looks and feels premium, and the modular components guarantee painless assembly.
The device includes a mini touchscreen at the top of the electric stand that makes it really easy to switch between the two lasers by swiping the display. When you’re engraving something, it also displays the progress. (You can also view it from the apps.)

Since engraving can produce quite a bit of fumes, the LaserPecker comes with a fan add-on for fume extraction. The cone, which magnetically snaps to the top of the laser, also doubles as protection for your eyes while the laser is engraving. But you should still make sure you’re wearing the protection goggles.

Getting Started with Your First Engraving
To start engraving, you’ll need to get acquainted with LaserPecker’s companion app: Design Space. This is where you can create basic designs using geometric shapes, fonts, or even doodles, or tap into the built-in library that contains enough samples to get you going.

You can also import SVG files or images to the app, including pictures you’ve taken with your smartphone. Since the app is rather limited, for more advanced designs, it’s best to rely on software, such as Photoshop or Illustrator to create your projects, then import them into the LaserPecker app. Note that the LP4 is also compatible with LightBurn.
We first started testing the LaserPecker LP4 Dual-Laser Engraver in conjunction with the iOS app. Unfortunately, it proved to be quite a cumbersome experience, as the app itself doesn’t feel like a polished product. We bumped into all kinds of issues, from the lack of touch sensitivity when trying to select a design to messages not being fully visible in some instances (see text in blue below.)

But the biggest problem was the lack of in-app instructions. For a product that is targeted at hobbyists/crafting enthusiasts, we would have expected the app to provide more guidance. As a newcomer, you naturally have many questions, and the app doesn’t do much to address them. We watched some tutorials online to understand more about the settings. If you’re anxious to get started with a project, this could potentially cast a shadow on your enthusiasm.
The Android app, on the other hand, provides a superior experience, so if you have an Android device, we recommend that you start with this app. Most of the details related to user experience aren’t an issue on Android. The app is much more responsive and brings improvements to the interface, such as the presence of snap points that allow for easier positioning and rotation of the shape, and extra features, such as the ability to add margins.

As for the Windows PC, we just couldn’t get our Windows 11 laptop to connect with the engraver. After updating drivers and installing new software versions and Windows updates, we still couldn’t pair the two via a USB connection. Another option using a Bluetooth dongle was also available, but we couldn’t verify that one.
Once you’ve selected the image you wish to engrave, you’ll need to switch to “Preview Mode” in the mobile app to start the manual alignment mode. This is done by using the buttons on the top of the vertical support to either raise or lower the head. The aim is to get the two red dots that appear on the engraving material to line up. A blue frame light also shows up where the design will sit to ensure the image will be engraved in the desired spot.

Next up, the parameters need to be set inside the app, starting with speed. We started with 1K, which does the engraving much faster than the other levels. The 4K and 8K, on the other hand, are preferable when you’re engraving in greater detail or higher resolution. But these types of engravings also take more time to complete.
There isn’t any guidance from LaserPecker on which one to use, so we ended up doing some trial and error to determine the best option for each of the materials we used in testing. For our first wood engraving, engraving 1K was more than enough.

On the next screen, you need to select the material on which you’re about to engrave. Once you do so, the engraver will automatically adjust parameters such as Depth and Power. However, in our testing, we found that these presets aren’t necessarily the best options. We did some experimenting which each material that we tested to determine the best ranges.

Performance
The LaserPecker LP4 Dual-Laser Engraver boats an engraving speed of up to 2000mm/s to produce extremely fast engravings. Our preliminary engravings were done in a matter of minutes, and both looked great. We first chose to engrave a stag that was completed in under one minute, then a highly-detailed mandala that took a little longer to finish. Both looked great, especially the mandala, which retained even the smallest details.


We also experimented with engraving on wood, plastic, glass, stainless steel, and white marble. In most cases, the engraving turned out amazing, with the exception of the white marble (probably due to the overly polished surface.)


With the LaserPecker LP4 Dual-Laser Engraver, you can achieve an unparalleled level of precision in engraving, with a maximum accuracy of 8K and 0.003mm. The engraver can reproduce images that will seem like they have been painted.
As a highlight, we experimented with a silicone phone case, where the engraver achieved a really interesting embossed effect (see below.) We also tried engraving a photograph (on stainless steel), which was rendered accurately with every detail visible.

The LP4 doubles as a woodcutter; however, creating that first cut is not very intuitive. There’s no separate engraving and cutting section in the apps, so we had to go back to watching tutorials online. The outcomes exhibited a satisfactory level of accuracy, although we noticed some minor imperfections.

While we performed most of our experiments with the laser head pointing downward, the LP4 takes things to the next level, allowing you to engrave from any angle, thanks to its 180-degree rotating laser head.

Extending Usage
The LaserPecker LP4 Dual-Laser Engraver comes with two extensions: rotary and slide. The first one adds more versatility to the machine, allowing you to engrave different cylindrical-shaped materials, like jars, bottles, cups, sticks, and more.
While setting it up is relatively easy, thanks to the detailed video tutorial, fitting and tightening the object inside the jaws can sometimes feel a little rigid. Once you’ve placed the object properly, it’s time to turn to the app, where you must remember to enable the extension from the app’s settings for it to work.

There are a few extra steps involved when it comes to setting the parameters in the app, as you’ll need to measure the object’s radius, but the results are well worth it.
The slide is a bit more intuitive to assemble than the rotary. Since the LP4 is limited to a 160 x 120 mm workspace, the slide effectively extends the working area, almost doubling (160 x 300 mm) it, allowing you to start engraving larger items. You’ll also need this extension to make cuts.

Another perk of this extension is that it allows you to do bulk engravings for an improved workflow.

Pricing
The LaserPecker LP4 Dual-Laser Engraver is available for purchase for $1799, but Make Tech Easier readers can use the code MTE50 to get $220 off through September 18, 2023, bringing that price to $1579. After this date, it will be $50 off. The extensions are not included in the package and cost extra (prices listed are before discount):
- LP4 + Slide extension: $1,979
- LP4 + Rotary extension: $2,105
- LP4 + Slide extension + Rotary extension: $2,285
Final Thoughts
The LaserPecker LP4 Dual-Laser Engraver is a versatile machine that can engrave virtually any kind of material, courtesy of its dual laser setup. It won’t take up much space in your working environment and is relatively portable. We were impressed by the engraver’s speed and accuracy, but its companion apps proved to be its Achilles heel.
In conclusion, if you’re familiar with laser engravers, getting acquainted with the LP4 won’t be much of a hassle for you, even with the less-than-intuitive apps, but if you’re a total noob, you need to take into consideration that you’ll be required to devote a significant amount of time to watching tutorials and experimenting with the device. But once you learn the ropes, there’s nothing stopping your creative projects from really taking off.
Subscribe to our newsletter!
Our latest tutorials delivered straight to your inbox