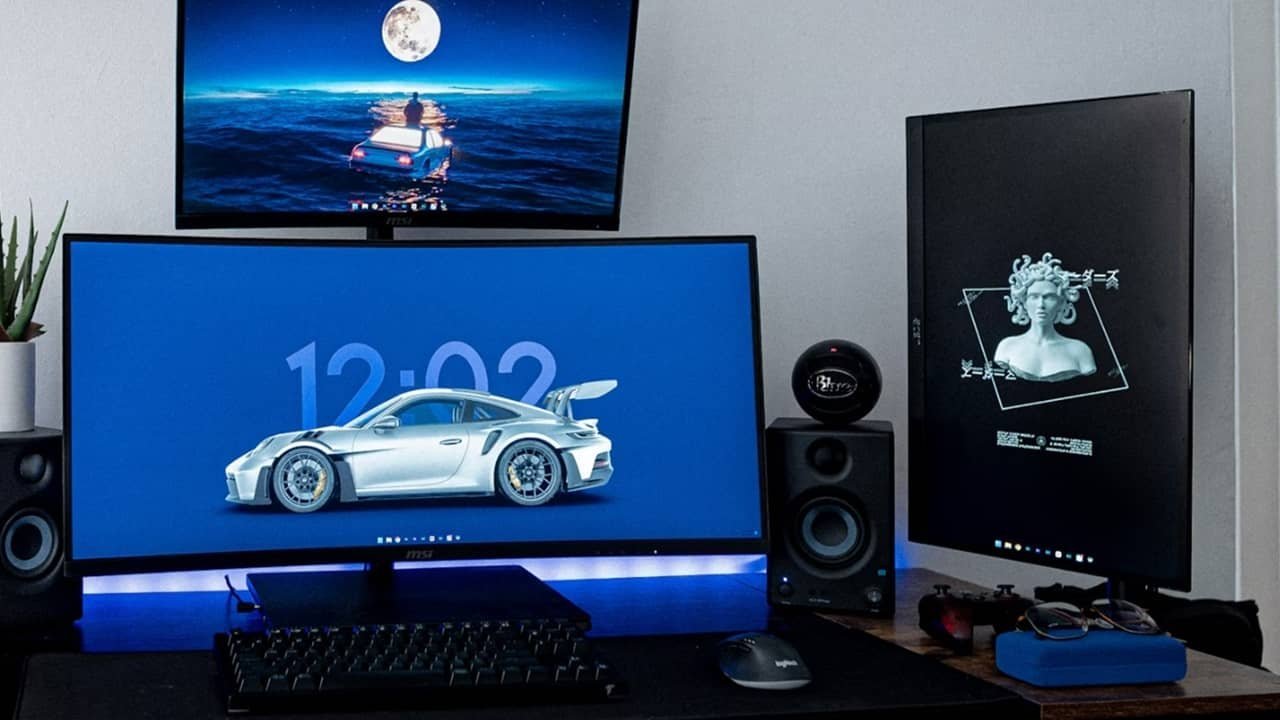
A multi-monitor setup helps boost productivity, but are you getting the most out of your setup? All it takes is a few optimization tricks to go from just having an extra monitor to a custom environment that makes work easier and gaming even better. Read on to learn tips to optimize your multi-monitor setup.
1. Tweak Display Settings
The single best way to optimize any multi-monitor setup is to tweak the display settings to get the perfect refresh rate, resolution, orientation, etc. There isn’t any one single setting. Adjust the settings until your setup is perfect for your needs.
The following tutorials use Windows as an example. For Windows, right-click your desktop, and select Display settings.
In macOS, open System Preferences -> Displays. In most Linux systems, go to Settings -> Display. You should see similar settings to the Windows display settings referenced below.
Orientation
Depending on the type of monitor(s) you’re using, things may not line up exactly right when you first connect them. If you can move your mouse between both screens, and the mouse stays in roughly the same area on both, you’re fine. If not, right-click your main monitor desktop, and select Display settings.
Drag the two rectangles until they’re lined up the way you prefer.
Brightness and Color
You must adjust the brightness and color on each individual monitor. Select the monitor rectangle at the top of the Display Settings to choose which monitor you want to adjust.
Use the Brightness slider in the Display Settings to get the optimal brightness for you. External monitors usually have a physical button or scroll wheel to adjust the brightness, contrast, etc. This varies based on the monitor.
Scale and Resolution
Once again, select each monitor one by one at the top of the Display Settings screen to tweak the settings.
Go to Scale, and select a preset percentage, or click Scale, and enter a custom setting. Under Display resolution, select your desired resolution for each display. Ideally, you’ll want each monitor to match, but they can be different resolutions if you want. Just scale the monitors to be approximately the same size.

Refresh Rate
Finally, optimize your multi-monitor setup by changing the refresh rate for each monitor. Scroll down to Advanced display in your Display Settings. Select the right refresh rate for each individual monitor. Use the drop-down box at the top right of the window to select each monitor.

2. Using Shortcuts
Shortcuts help you quickly arrange windows in whichever way is most productive for you. Sure, you can just drag and drop from one monitor to another, but there are faster methods.
For Windows, make the most of the following shortcuts to move active windows where you need them:
- Shift + Win + Right or Shift + Win + Left – moves the active window to the monitor on the left or right of the current monitor.
- Win + Right or Win + Left – snaps the active window to the right or left side of your current monitor.
- Win + Down or Win + Up – minimizes or maximizes the current window.
- Win + Home – minimizes every inactive window. Works across all monitors at once.
If you want to further optimize your multi-monitor setup, consider using Snap Layouts in Windows or Stage Manager in Mac. You can also set up split screens in several popular browsers. Mac users should also consider window manager apps for even more customizations.
By default, the taskbar usually duplicates across all monitors. If you only want it on one monitor, right-click your taskbar, and select Taskbar settings. Scroll down to Taskbar behaviors.

Select the drop-down box beside When using multiple displays, show my taskbar apps on. Choose between showing it on all displays, only where windows are open, or only the display where a window is active.
3. Customizing Wallpapers
By default, extra monitors either duplicate your main monitor’s wallpaper or show a black background. There are three main options:
- Use the same wallpaper on both
- Use a spanning or extra-wide wallpaper across all monitors
- Use different wallpapers for each monitor
To use the same wallpaper on both, right-click an image, and select Set as desktop background. Or, right-click the desktop, and select Personalization -> Background. Choose Picture, select your image, and select Fill or Fit.
To span across all monitors, right-click the desktop, and select Personalization -> Background. (On Mac, select Change desktop background.) Choose Picture, select your image, and select Span from the Choose a fit for your desktop image box. If you need wider wallpapers, check out WallPaperFusion or DualMonitorBackgrounds.

In Windows 10, select each individual monitor in the Background settings. In Windows 11, either use a third-party tool or a File Explorer trick.
Open File Explorer, and navigate to the folder containing the images you want to use for each individual monitor. Press Shift while selecting each image. Right-click the image you want to use for your main monitor, and select Set as desktop background. The other image(s) will be assigned to the remaining monitor(s).
4. Using Third-Party Multi-Monitor Setup Apps
If your system doesn’t have the settings you want, there are always third-party apps to optimize your multiple-monitor setup. One of the best apps for Windows is DisplayFusion. It offers a surprising number of free features, including the option to set different images for each monitor.

It also provides various optimization tweaks. Pro versions even let you save profiles for later. I highly recommend going through the intro screens to better learn what’s possible.
For Mac users, try Swish or Lunar. Personally, Lunar has the better overall features, but Swish is cheaper and works great for general purpose window management.
For Linux users, try XRandR. It’s easy to use once you learn the commands. Or, use the GUI if your system supports it.
No matter how you optimize your multi-monitor setup, most of the settings you need are built in to your operating system already. Or, get more advanced with other apps. If you’re using multiple monitors for gaming, learn how to set things up, based on whether you’re using NVIDIA or AMD.
Image credit: Unsplash. All screenshots by Crystal Crowder.
Subscribe to our newsletter!
Our latest tutorials delivered straight to your inbox